
Shogun 2 Yari Wall Guide: Setup, Counters and Fatigue
Learn how to position classic Yari Ashigaru, use Yari Wall and protect the flanks. Understand what Complete Edition infantry-fatigue changes affect.
FAQ
Why does my Yari Wall lose a battle?
Does classic Yari Wall advice apply unchanged to Complete Edition?
Should Yari Wall chase retreating enemy units?
What the stance is for
Scope: classic Sengoku. Yari Wall is a defensive spear formation associated with Yari Ashigaru. Its value comes from making a prepared front difficult to push through, rather than making a cheap unit good at every task. It does not turn an infantry line into protection against arrows, attacks from behind or a collapsing army’s morale.
The useful question is not “can ashigaru beat samurai?” It is “can this unit hold this approach while the rest of my army does its job?” See army composition for the supporting roles and the beginner guide for battle preparation.
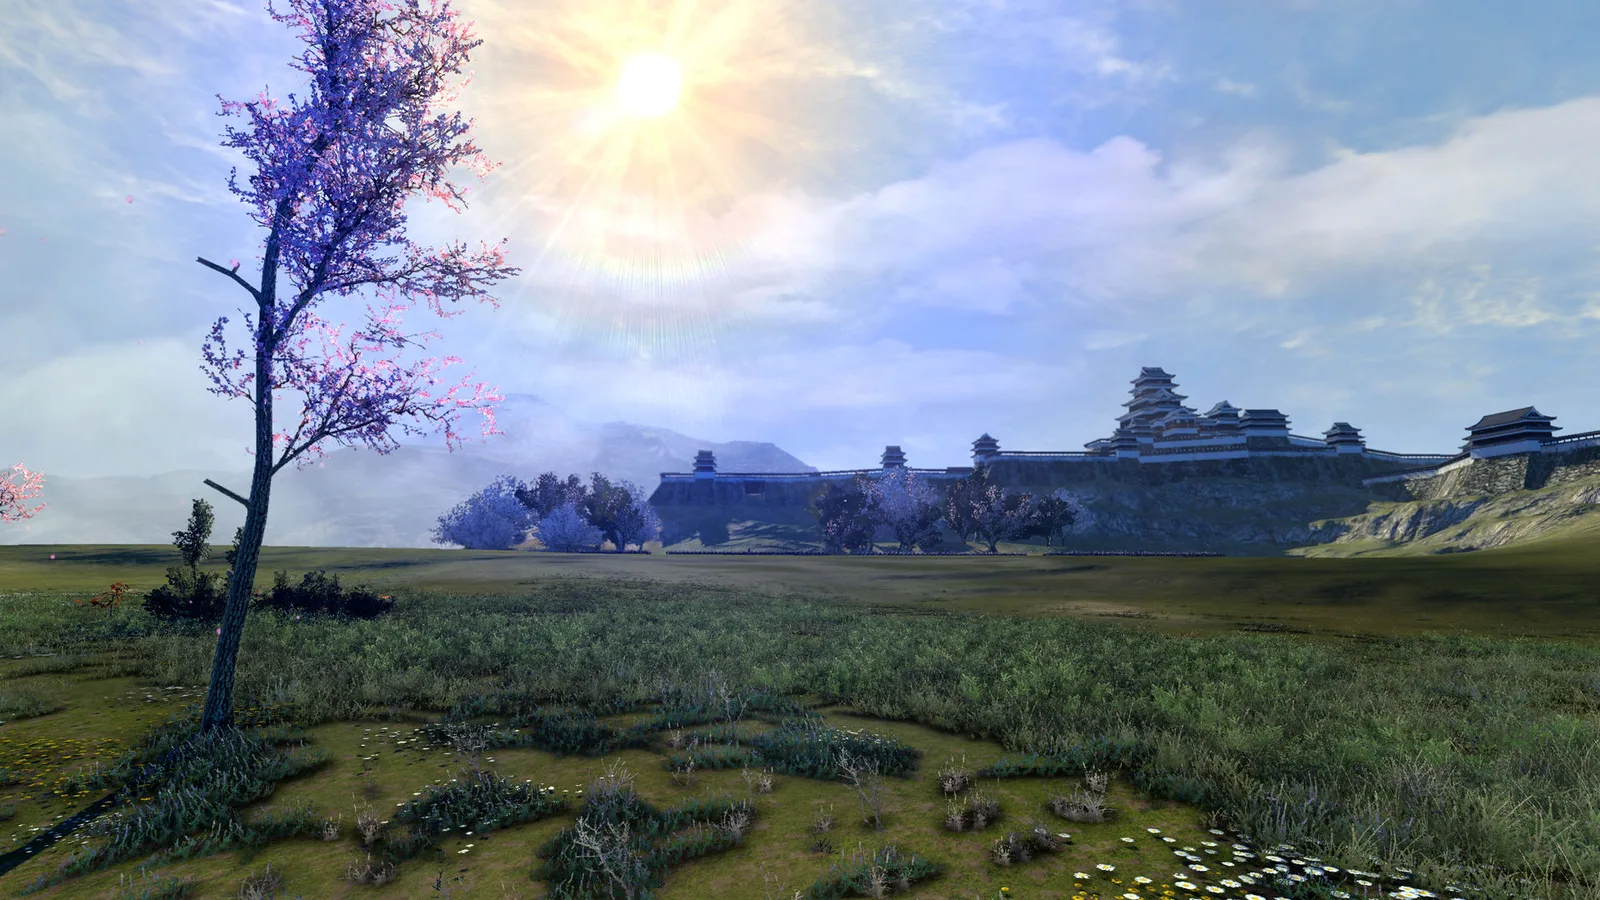
An approach worth studying before deployment. This landscape image does not show Yari Wall.
Set up before contact
- Select a Yari Ashigaru unit and choose a frontage that fits the ground you intend to defend. Keep neighboring units close enough to support each other without assuming a gap will defend itself.
- Face the likely enemy approach, move into position and activate the available Yari Wall control. Leave time for the formation to settle instead of toggling it during an uncontrolled charge.
- Keep archers and the general out of immediate melee danger. Put a reserve where it can cover a threatened flank.
- Watch the approaching army. If the enemy changes direction, reposition deliberately; do not let one chase order drag the line away from its support.
Controls can be rebound, and the two editions have different default control schemes. Use the ability label in your installed build rather than an unverified universal keyboard shortcut.
Protect what the wall cannot cover
Missiles can punish a stationary target. Keep your own bows useful, look for better ground and decide whether remaining in place is still helping. If enemy cavalry reaches the side or rear, use a reserve and adjust the supporting line instead of expecting a forward-facing formation to solve the whole problem.
Terrain also changes how neatly the frontage can form. Practice a simple engagement in custom battle before attempting a narrow, complicated deployment. The Oda campaign makes an economical setting for learning ashigaru roles, but clan bonuses do not remove positioning mistakes.
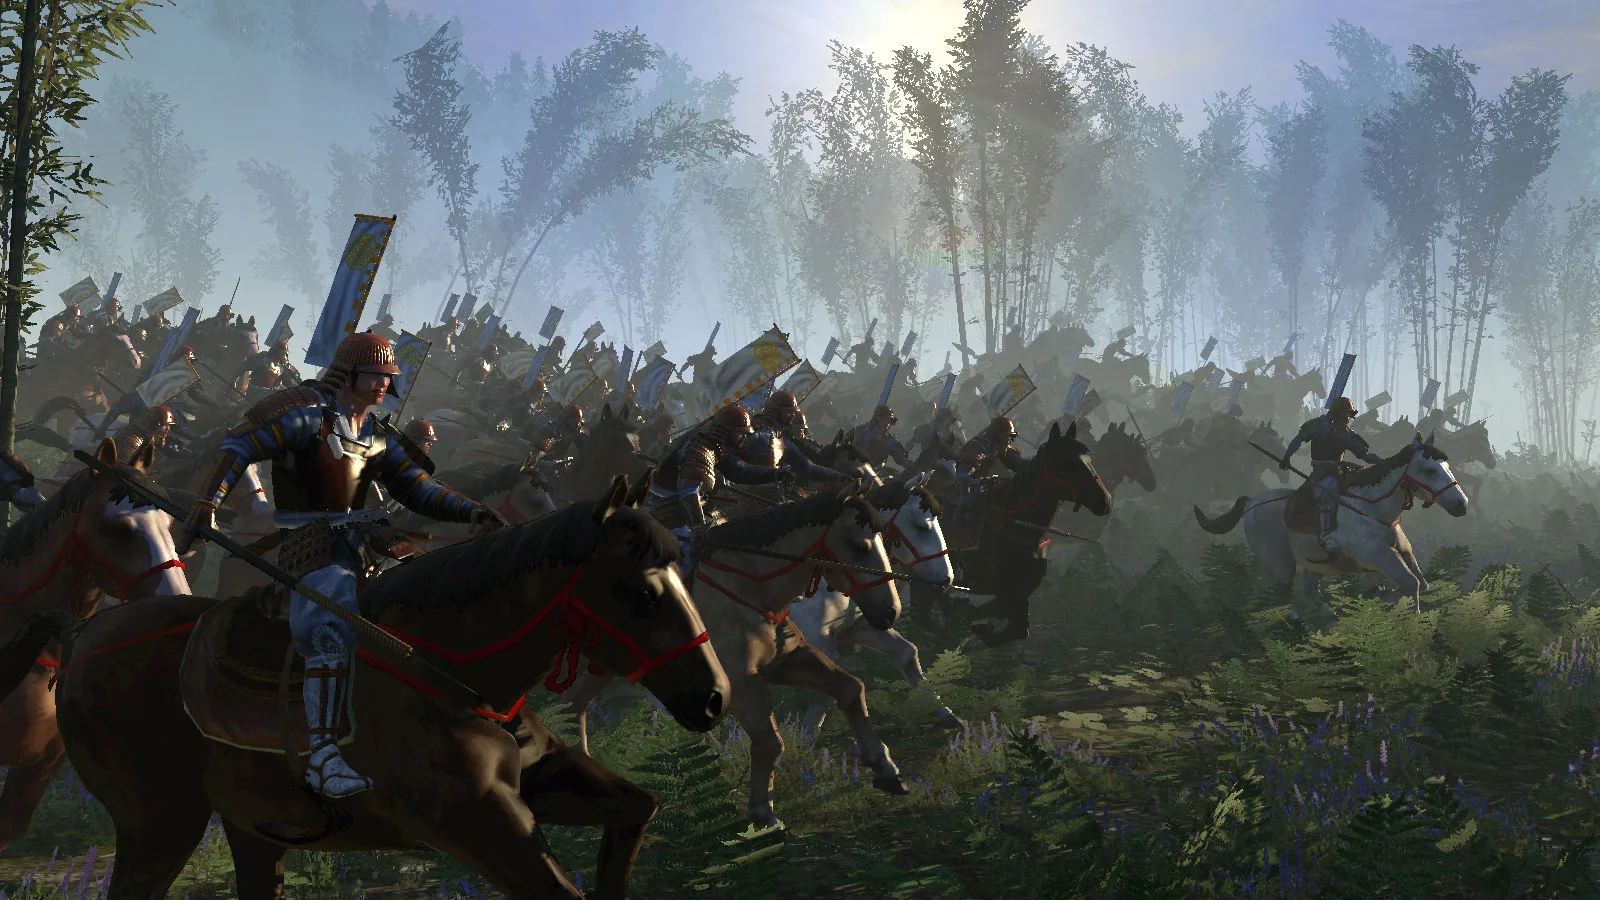
Cavalry context, not a demonstration of a successful charge against Yari Wall.
Diagnose failure before buying replacements
When a spear unit routs, check what actually happened. Did missiles reduce it before contact? Was its rear exposed? Did the general die nearby? Did you move the unit when you wanted it to hold? These are different problems and need different fixes.
Replacing every ashigaru unit with expensive samurai may hide the cause while damaging your campaign economy. Pause a practice battle, inspect the line and change one thing at a time. Community discussion shows that players disagree about ability behavior; unsupported exact cooldowns, burn-out times and hidden multipliers are not useful substitutes for checking the build.
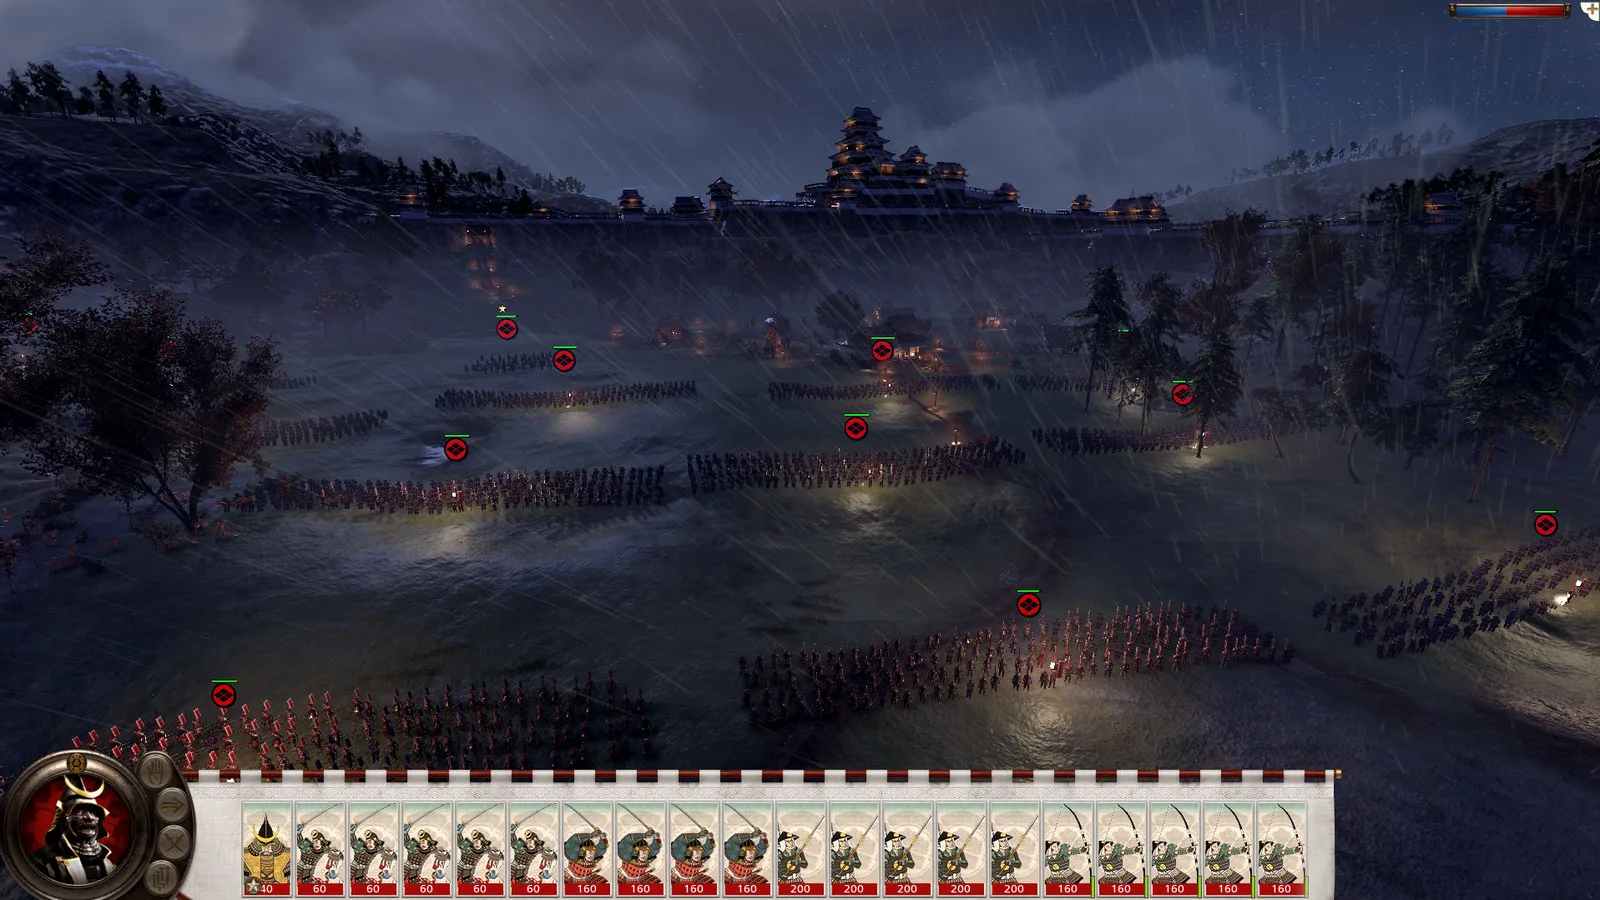
Watch unit status and position. The selected cards in this screenshot are not evidence that a Yari Wall stance is active.
Complete Edition: respect fatigue
The official change list states that infantry fatigue now applies correctly to statistics; previously, infantry statistics other than morale were unaffected. Resting troops and avoiding unnecessary running therefore deserve attention. The same notes correct bonuses affecting Oda Long Yari Ashigaru. This guide does not claim an old exhausted-infantry test or cost table remains valid in the new edition.
Sources and image credits
- Legacy player discussion of Yari Wall: practical questions and conflicting interpretations; not a verified numeric stat sheet.
- Official Complete Edition changes: infantry fatigue and Oda Long Yari fixes.
Classic SHOGUN 2 images: Creative Assembly / SEGA via the official Steam store. These illustrations do not establish Complete Edition mechanics.
Related Articles
clans
Shogun 2 Best Clans: Beginner Picks and Playstyle Guide
Choose a Shogun 2 clan by starting position, army style and campaign pressure. Compare Shimazu and Oda with clear Classic and Complete Edition labels.
clans
Shogun 2 Oda Guide: Ashigaru Armies and a Safer Opening
Build an affordable Oda army, choose one early war and protect your central borders. Classic Sengoku advice with Complete Edition changes identified.
clans
Shogun 2 Shimazu Guide: Kyushu Opening and Katana Armies
Use the Shimazu corner start, build a balanced katana army and plan the move beyond Kyushu. Classic Sengoku advice with edition scope clearly marked.
Was this helpful?
Thanks for the feedback!